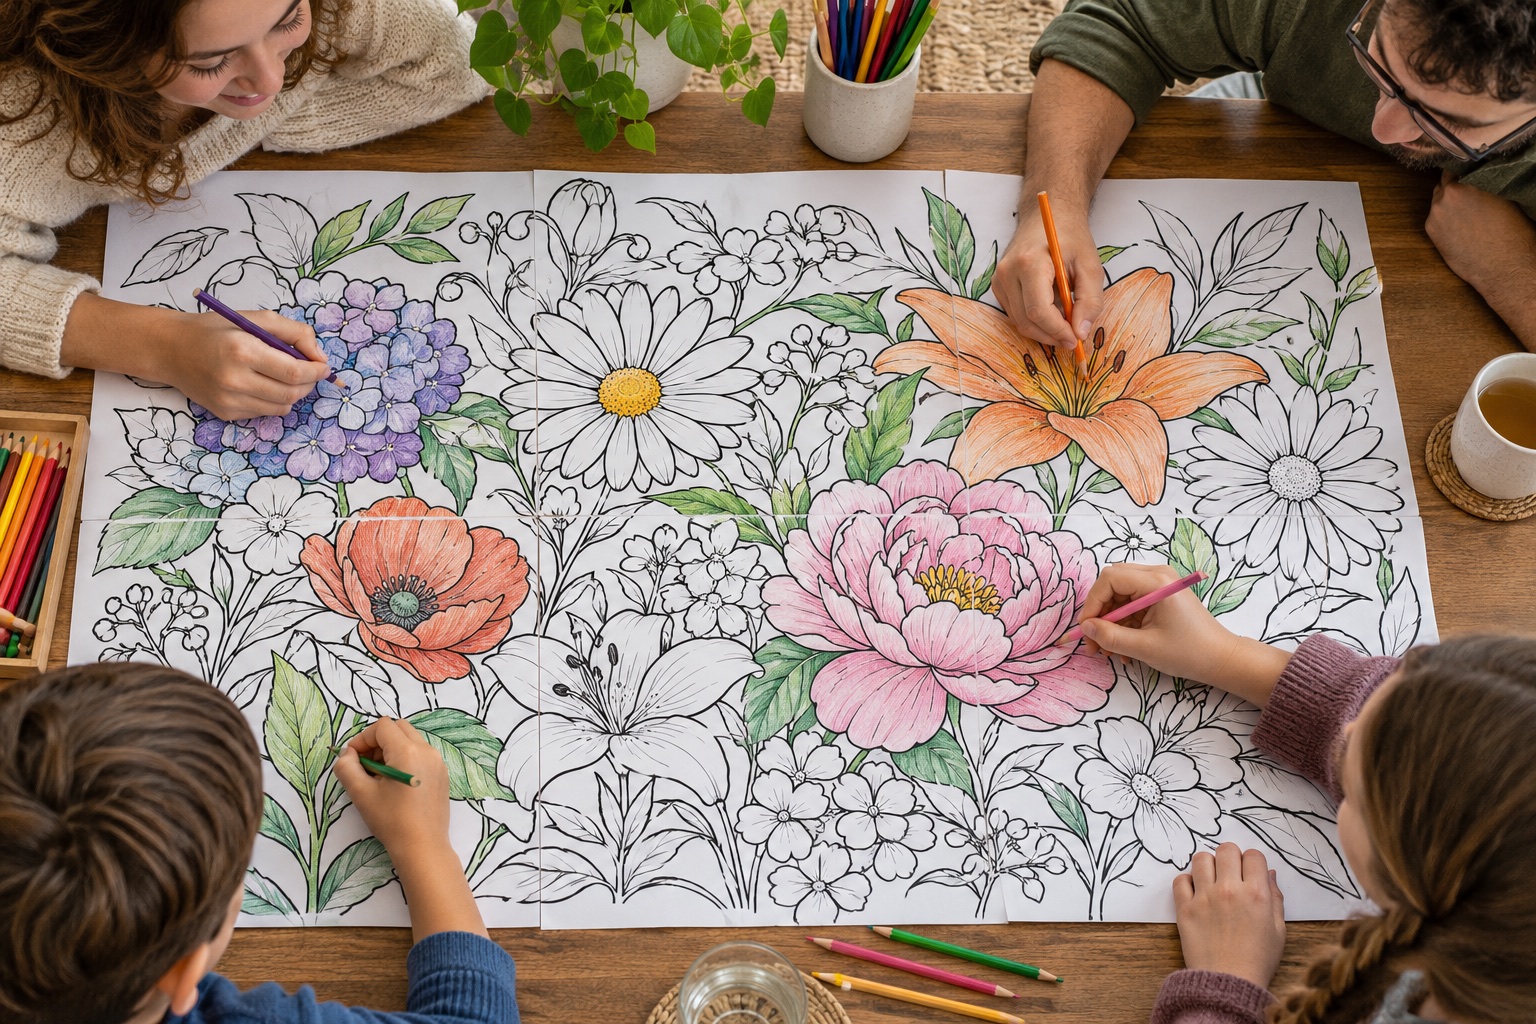
A shared coloring poster gives everyone one picture to work on while leaving separate areas for different people. The useful design is not necessarily the most detailed one: open shapes and clear lines make it easier to share a table and continue across paper joins.
The preparation is mainly about choosing the drawing, checking the paper and making the seams comfortable to color over. A small test with the actual pencils or markers is worth doing before printing a table-sized image.
Choose line art with room to color
Start with a high-resolution black-and-white drawing you have permission to print. Large open shapes suit a shared table better than tiny details. Grayscale printing does not turn a photograph into coloring-page outlines.
Size it for the table and participants
Measure the table, leaving room for hands and pencils. Start with two sheets across and check the full width and height. Choose plain or matte paper your printer supports, with matching paper for every tile.
Assemble before coloring shared lines
Print a sample to see whether lines stay clear and the paper accepts your coloring materials. An adult can trim and join the sheets before the activity. Tape from the back so front seams do not block pencils; use a protective backing under markers.
Make a group coloring poster in 5 steps
Choose a clear printable line drawing
Measure the table and leave room for participants
Set the grid and use matching paper for every tile
Test the lines and coloring materials
Trim, assemble and tape from the back before coloring
Frequently asked questions
Does the tool create line art?
No. Upload a finished line drawing. The maker enlarges and tiles it.
Should each person color a separate sheet first?
That can work, but keep crayons and markers out of overlap strips. Assembling first makes shared outlines easier to follow.