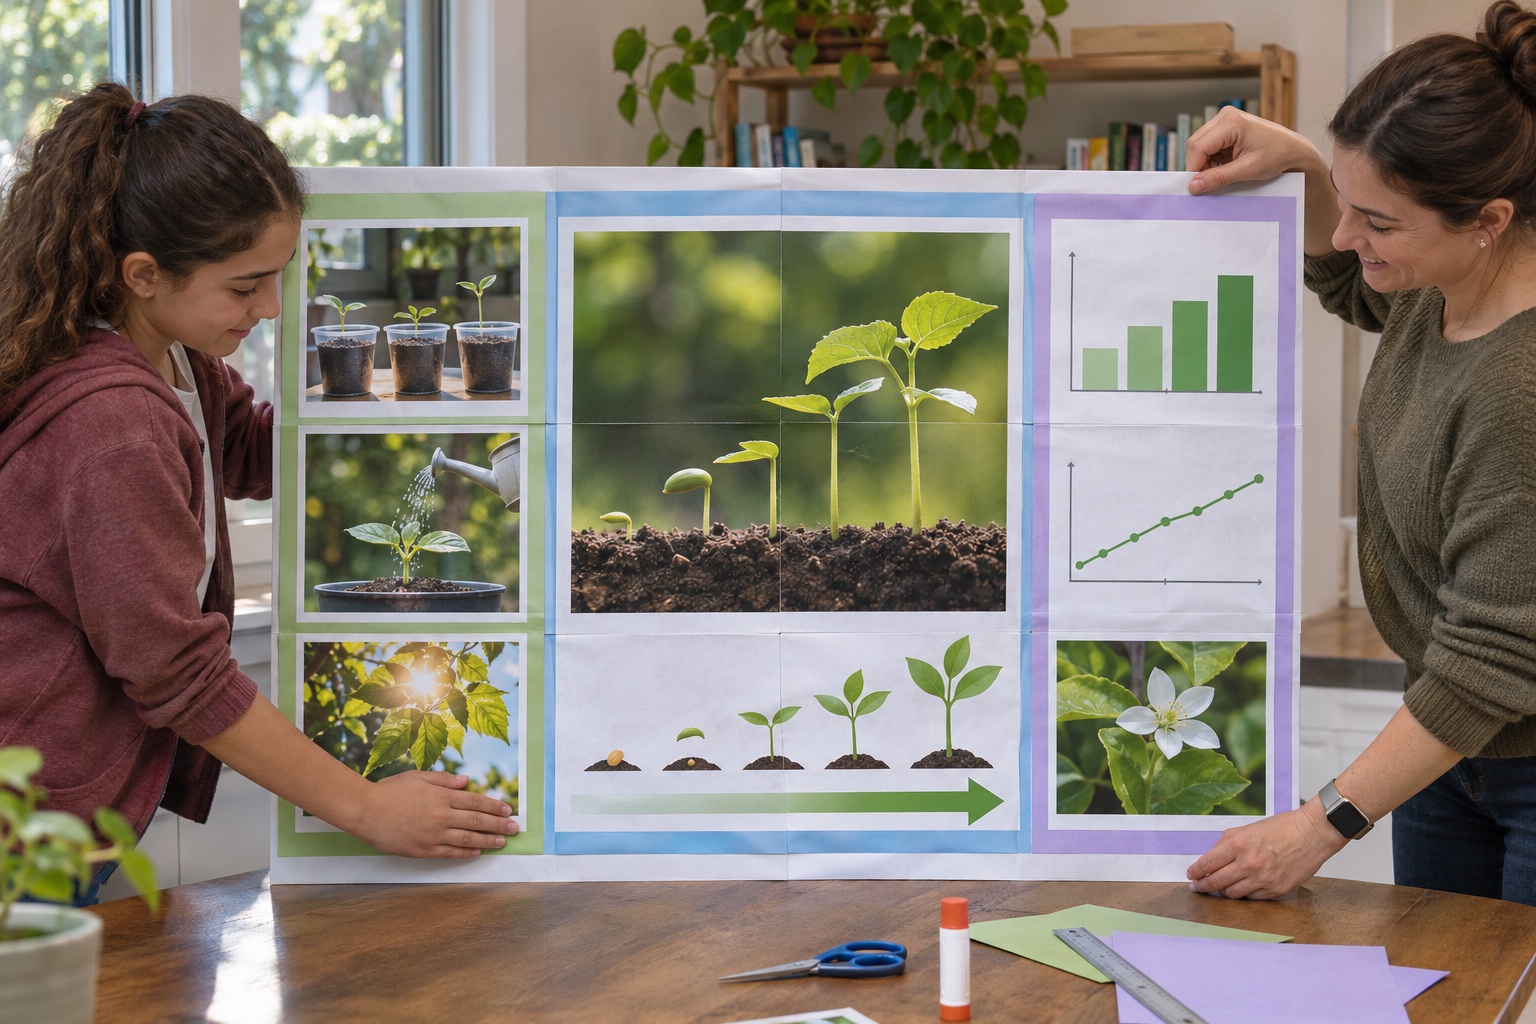
A school display has to work on the board in front of the audience, not just on a laptop. Labels that are clear on screen can become too small when several charts share one panel. A folding board also adds boundaries your digital layout may not show.
Start with the board dimensions and the main finding you want visitors to understand. A few clear photos, a readable chart and a short conclusion often make a more manageable print than a crowded page of small text.
Plan around the board panels
Measure the usable width and height of the board. Keep a title, one main question and a few readable findings. Put graphs and photos in the source layout before export, and avoid running a small paragraph across a board fold.
Print one panel or one complete layout
Upload a clear JPG, PNG or WebP. Use exact width to match the measured panel and check the proportional height. For a folding board, separate images for each panel are easier to position than one image spanning all folds. Choose the paper loaded in the printer and keep the same margins throughout.
Test the smallest chart label
Print the tile with the finest labels at 100%. Read it from the distance a visitor will stand, then assemble on a table before mounting. Leave movable labels or extra notes off the main image if you expect to revise the project.
Print a project display in 5 steps
Measure each presentation-board panel
Export the finished layouts as clear images
Size each image to its panel and check folds
Test the smallest chart label at 100%
Assemble flat and mount the completed panels
Frequently asked questions
Can I upload a slide deck?
Export the finished slide or board panel as an image first. This maker accepts JPG, PNG and WebP, rather than presentation files.
Can I put the whole display on one board?
Yes, if the finished dimensions fit the usable area. Check folds and mounting space before printing.